If you, like us, love the striking elegance and bold statement of a chandelier, then you might be looking for exciting new ways to incorporate them into your décor. And, the good news is, you’re not restricted to just the indoors!
If you have a patio, porch, or pergola outside your house, you will be able to hang a chandelier outdoors. Perfect for when you’re entertaining friends and family on summer’s evenings, the warm light and eye-catching design of a chandelier will upgrade your space in terms of both practicality and appearance!
But how, exactly, should you hang an outdoor chandelier?
Whether you want practical advice on how to install your outdoor light fixture or you need some inspiration to help you find the right chandelier for you, our five top tips will help you get it sorted.
1. Choose The Right Outdoor Chandelier
For starters, it’s important that you pick the perfect fixture to go in your space. Now, there are a number of things for you to take into consideration when shopping around for an outdoor chandelier. However, some of them are more important than others.
For one thing, any chandelier that is intended for outdoor use will need to be weather resistant. Even if rain is relatively rare where you live, it is imperative that you buy a light fitting that is waterproof. You can ensure that you do by checking to see whether the chandelier in your shopping cart has the appropriate UL Listing. Simply look to see if it is marked as “Suitable For Wet Locations.” If it is, you’re good to go.
It should also be durable, so that it can withstand other adverse conditions such as wind, as well as any sudden changes in the weather. Thankfully, most chandeliers designed for outdoor use will be more robust than their indoor counterparts.
Other things to ask yourself include:
- Does the chandelier have sealed circuitry?
- Does the chandelier have a rubber coated switch?
- Is the cord heavy duty?
Only if a light fitting meets all of these requirements will it be appropriate for outdoor use.
2. Assemble Your Outdoor Chandelier
Once you’ve found the perfect lighting solution for your space, whether that be a rustic outdoor chandelier, a wood chandelier, or something more elegant, you can begin assembling it. This is actually a pretty straightforward step.
Any chandelier you purchase should come with assembly instructions for you to follow. All you’ll need is a screwdriver and potentially a few other basic tools.
Simply screw the chandelier together following the guidelines provided, but leave the canopy off for now. You will attach this cone-shaped cover to the chain during the installation process, after you’ve done some wiring. Don’t put the bulbs in at this point either. It will be easier to screw them in once the chandelier has been successfully installed.
3. Hang Your Outdoor Chandelier
This is where things get a little bit trickier, especially because hanging a chandelier by yourself can seem like a pretty daunting task. But, actually, it isn’t all that hard to do, so long as you follow all the steps correctly.
Once you have assembled your chandelier, you can get going. And, the first step is the most important: to turn off the power to the circuit where the chandelier is going to be mounted.
From here, you should follow these steps:
Install The Mounting Strip
Using a screwdriver, attach the mounting strip that comes with your chandelier to the mounting box in the ceiling or roof of your outdoor space. Ensure that the screws are the right size and the connection is tight. This will help to support the chandelier and keep it sturdy.
Thread The Chandelier Wires
Thread the wires of the chandelier through every other chain link. Then, carry on threading them through the canopy, the chain holder, and the metal nipple that will hold all the wires together.
Wrap The Copper Wires Round The Grounding Screw
Find the copper grounding wires – there should be one from your chandelier and one from your home’s electrical system. Wrap them around the grounding screw in the mounting box, making sure that the wires are touching. Have someone hold the chandelier in place as you do this.
Strip The Ends Of The Insulated Wires
With a pair of wire strippers, strip about 0.5cm off the end of the chandelier’s white neutral wire and black hot wire.
Connect The Wires
Join the exposed end of the chandelier’s neutral wire to the end of the neutral wire in the mounting box. Then, simply twist them together with a wire connector. Connect the black hot wires using the same method.
Mount The Chandelier
Mount the chandelier in the perfect place by following the manufacturer’s instructions. Then, you can screw in the bulbs and finally test it out!
We’ve gone into more detail about how to hang a chandelier here [INSERT link to ‘How To Hang A Chandelier Over A Kitchen Island]. It’s definitely worth a read if you’re planning on installing the fitting yourself!
4. Upgrade Your Outdoor Chandelier
Once you’ve got your chandelier securely installed in your outdoor space, you can have a think about how you want to customize it! There are a few things you can do if you would like your chandelier to be full of character and unique to you.
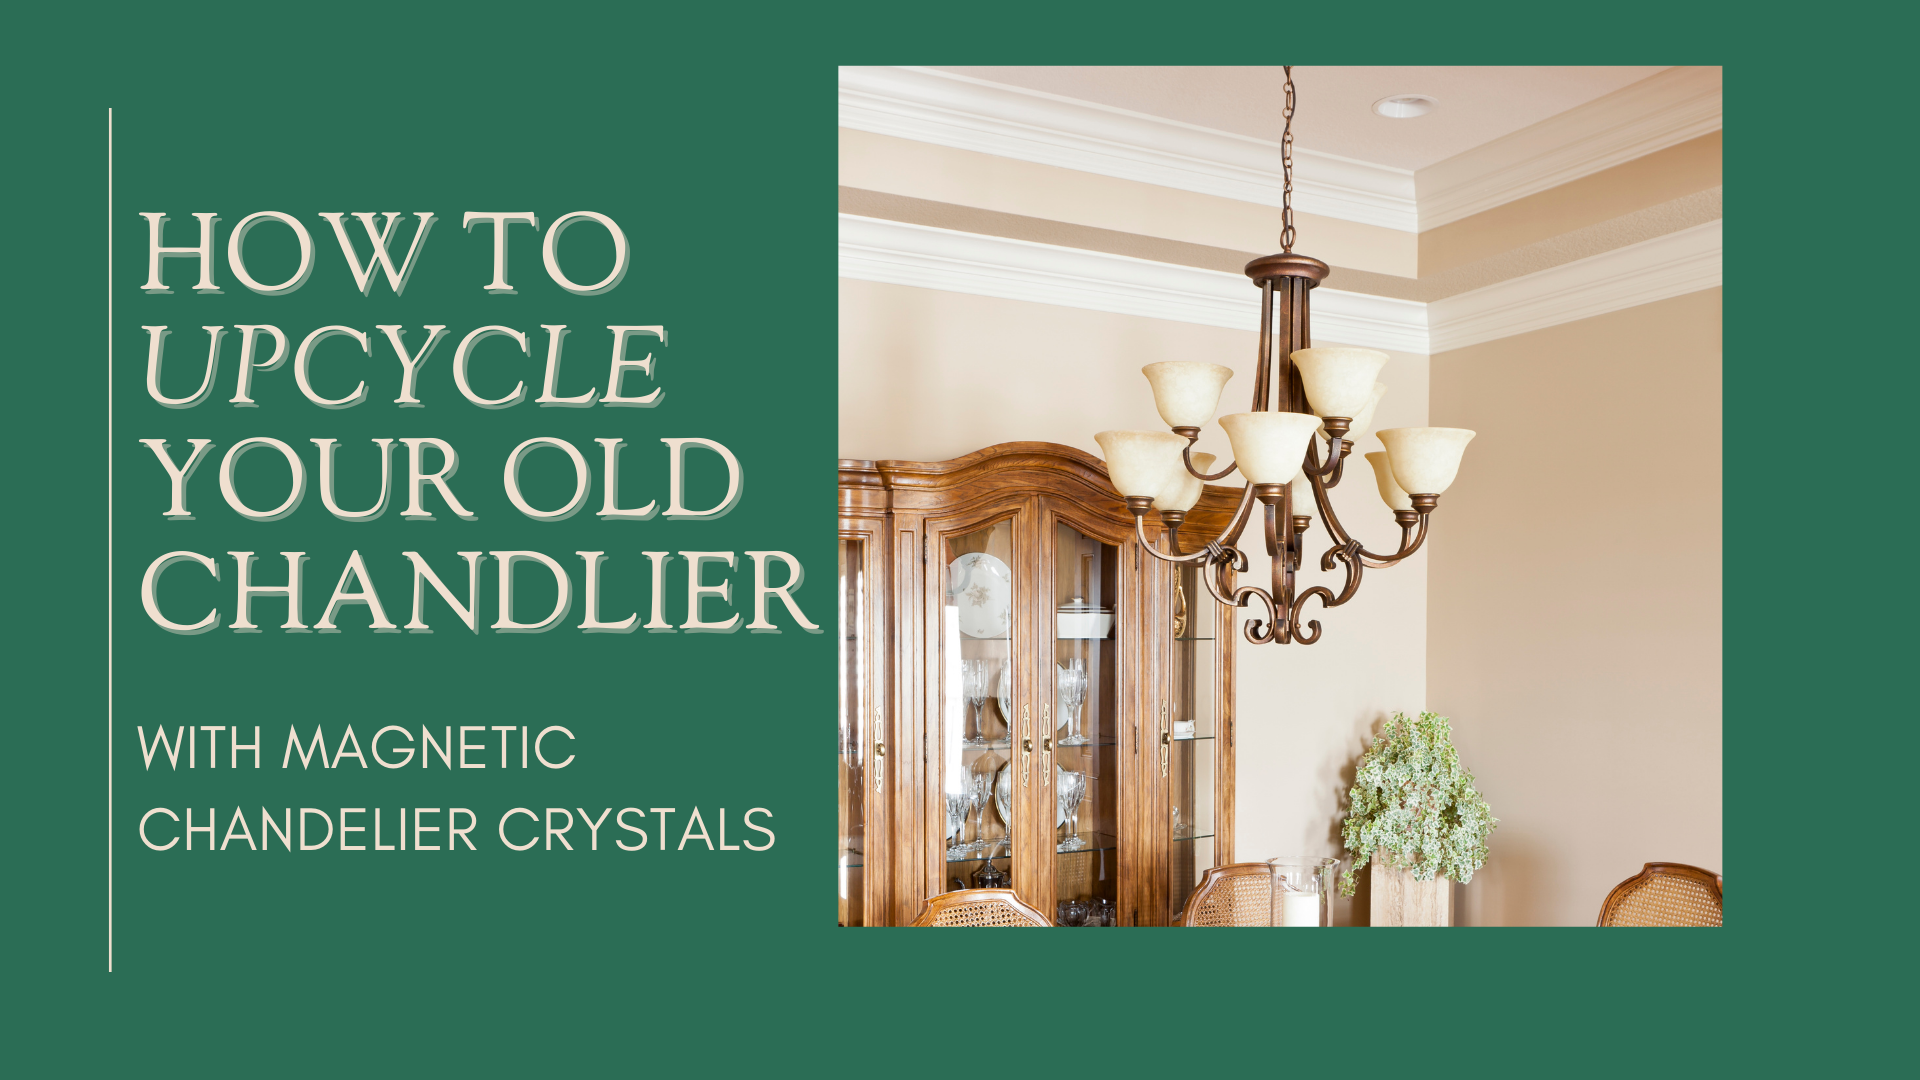
You might, for example want to add some extra sparkle to your light fitting. And, with magnetic crystal accents, you can do this in seconds! You can also add wooden beads or tassels, and even give your chandelier a seasonal look with magnetic chandelier accessories.
Whatever the style, it’s so easy to make your chandelier look designer, without paying designer prices! Take a look at the wide range of accents we at MagTrim have in stock – we’re sure you’ll find something perfect.
5. Install Other Outdoor Hanging Lights
Why stop at just one outdoor light? If you really want to make your outside space shine, then you can try layering your lighting!
Just as you might have several different sources of light in your living room, from ceiling lights to standing lamps and even candles, you can create a greater sense of ambiance outdoors by pairing your chandelier with additional lighting fixtures.
Fairy lights are a great choice. They add a warm, gentle glow that is equal parts relaxing and enchanting. And, there’s loads of different styles to choose from, so you shouldn’t have a problem finding ones that work well with your chandelier! Maybe you want globe fairy lights that will complement beautiful glass baubles on your main fixture. Or, perhaps you would prefer simple strings of fairy lights, that add light without detracting from the beauty of the chandelier. Whatever you opt for, they’re sure to add a touch of magic to your space.
To make your outside area even more charming, you could try arranging lanterns and lighting candles inside them, too. The faint flicker of the firelight will make any space feel much more intimate.
More practical options such as lawn edge lights, wall lights, and automatic lights are also available. However, bear in mind that these are likely to omit quite bright, harsh light. So, if you want your chandelier to be your main source of light, anything additional should ideally be softer.


